

Graphic facilitation is a powerful visual method that enhances group communication, strengthens understanding, and brings clarity to even the most complex discussions. While it may look like artistic note-taking at first glance, it offers far deeper value—especially for teams working through ideas, problems, and collaborative decision-making.
What Is Graphic Facilitation?
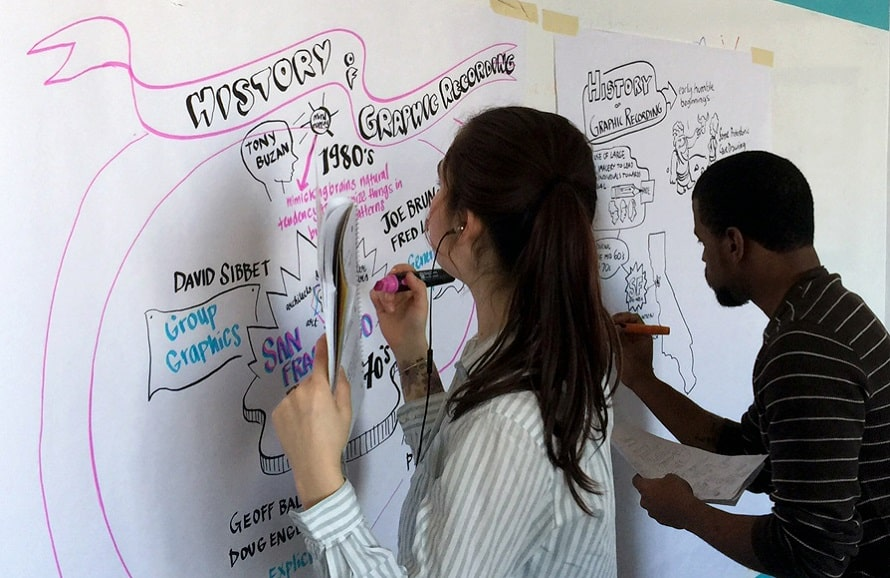
Graphic facilitation involves using drawings, symbols, lettering, and visual structures to support group discussions. Creating a shared visual reference during a meeting helps participants remember key points, understand problems more clearly, and revisit decisions long after the session ends.
This technique can take several forms:
- Real-time visual note-taking during presentations or discussions
- Prepared visual materials that teams complete together during workshops
- Custom templates for topics like ideation, planning, or reflection
Whether drawn in the moment or prepared ahead of time, these visuals help teams stay aligned and focused.
Why Use Graphic Facilitation Instead of Slides or a Standard Whiteboard?
Most teams are used to digital presentations or basic whiteboard scribbles. Graphic facilitation, however, changes the atmosphere of a meeting in several meaningful ways:
- Hand-drawn visuals feel more engaging and personal
- Participants tend to contribute more actively when the materials feel thoughtfully crafted
- Paper-based graphics can be displayed around the workspace to reinforce decisions and spark ongoing discussion
- The extra effort signals that the meeting matters, increasing commitment and attention
Simply put, visual facilitation turns a standard meeting into a dynamic collaborative session.
Common Doubts About Visual Note-Taking
“I can’t draw.”
This is one of the most common concerns, but artistic talent is not required. Graphic facilitation relies on simple shapes, symbols, and clear lettering—not complex illustrations. With a bit of practice, anyone can create visuals that are effective, readable, and useful.
“It takes too long to prepare.”
Hand-drawn materials may take a bit more time at first, but the process becomes faster as you practice basic forms and lettering styles. You don’t need detailed artwork—clean shapes, simple icons, and structured layouts are more than enough.
Basic Materials to Get Started
You don’t need expensive tools. Beginners can start with:
- A few markers
- Any large sheets of paper or recycled wrapping paper
- A simple eraser and pencil for drafting (optional)
For those who want to take their visuals further, investing in refillable markers with different tip sizes can be helpful, but not necessary. Start small—what matters most is consistency and practice.
Writing Text That’s Clear and Memorable
As you begin practicing graphic facilitation, you’ll notice that your lettering plays a major role in making your visuals readable and professional. Focus on:
Visual Hierarchy
Use larger text for headings, medium-sized text for subheadings, and smaller text for details. Spacing, boldness, and placement also guide the viewer’s eye.
Lettering Basics
Avoid using your regular handwriting, as it often prioritizes speed over readability. Practice simple, legible lettering styles. Three basic styles—such as all-caps, rounded letters, or slightly stylized handwriting—are enough for most sessions.
Remember: the goal is clarity, not perfection.
Easy Visual Elements to Draw
Graphic facilitation makes use of simple shapes that become intuitive as you practice. Start with:
- Boxes
- Circles
- Containers for grouping ideas
- Simple arrows and connectors
Adding shadows or outlines can make these elements stand out more. Copying examples for practice helps you build muscle memory and eventually develop your own style.
Useful Templates for Workshops and Meetings
Different meetings benefit from different visual structures. Here are some template ideas you can draw by hand:
Agenda Template
A structured list outlining the session’s flow helps participants stay oriented throughout the day.
Topic Collection Template
Useful when participants contribute ideas or themes that shape the meeting’s direction.
Pros and Cons Template
A simple way to gather positive and negative insights in a visually balanced layout.
Action Plan Template
Helps teams define goals, tasks, owners, and deadlines clearly.
Competitor or Comparison Template
Displays key differences or insights side by side for easy evaluation.
Retrospective Template
Ideal for reviewing what went well, what didn’t, and what can be improved after a project or sprint.
These templates make discussions more structured while keeping the session interactive and visually engaging.
How to Practice Graphic Facilitation
Getting comfortable takes time, but these practice methods can accelerate your skills:
- Take handwritten notes whenever possible, focusing on structure and hierarchy
- Copy visual examples for practice, even if they feel simple
- Listen to audio content and sketch your notes to improve speed
- Hand-draw at least part of your workshop materials whenever you lead a session
The more you practice, the more natural your visuals will become.
Final Thoughts
Graphic facilitation can significantly improve the effectiveness of your meetings, workshops, and collaborative sessions. It encourages participation, strengthens group memory, and transforms abstract ideas into tangible visuals the team can understand and act on.
Whether you’re leading product discussions, planning strategies, or running retrospectives, incorporating hand-drawn visuals can elevate the energy, clarity, and outcomes of your meetings.